By Yashashwi Singhania, the maker of Arras. Updated .
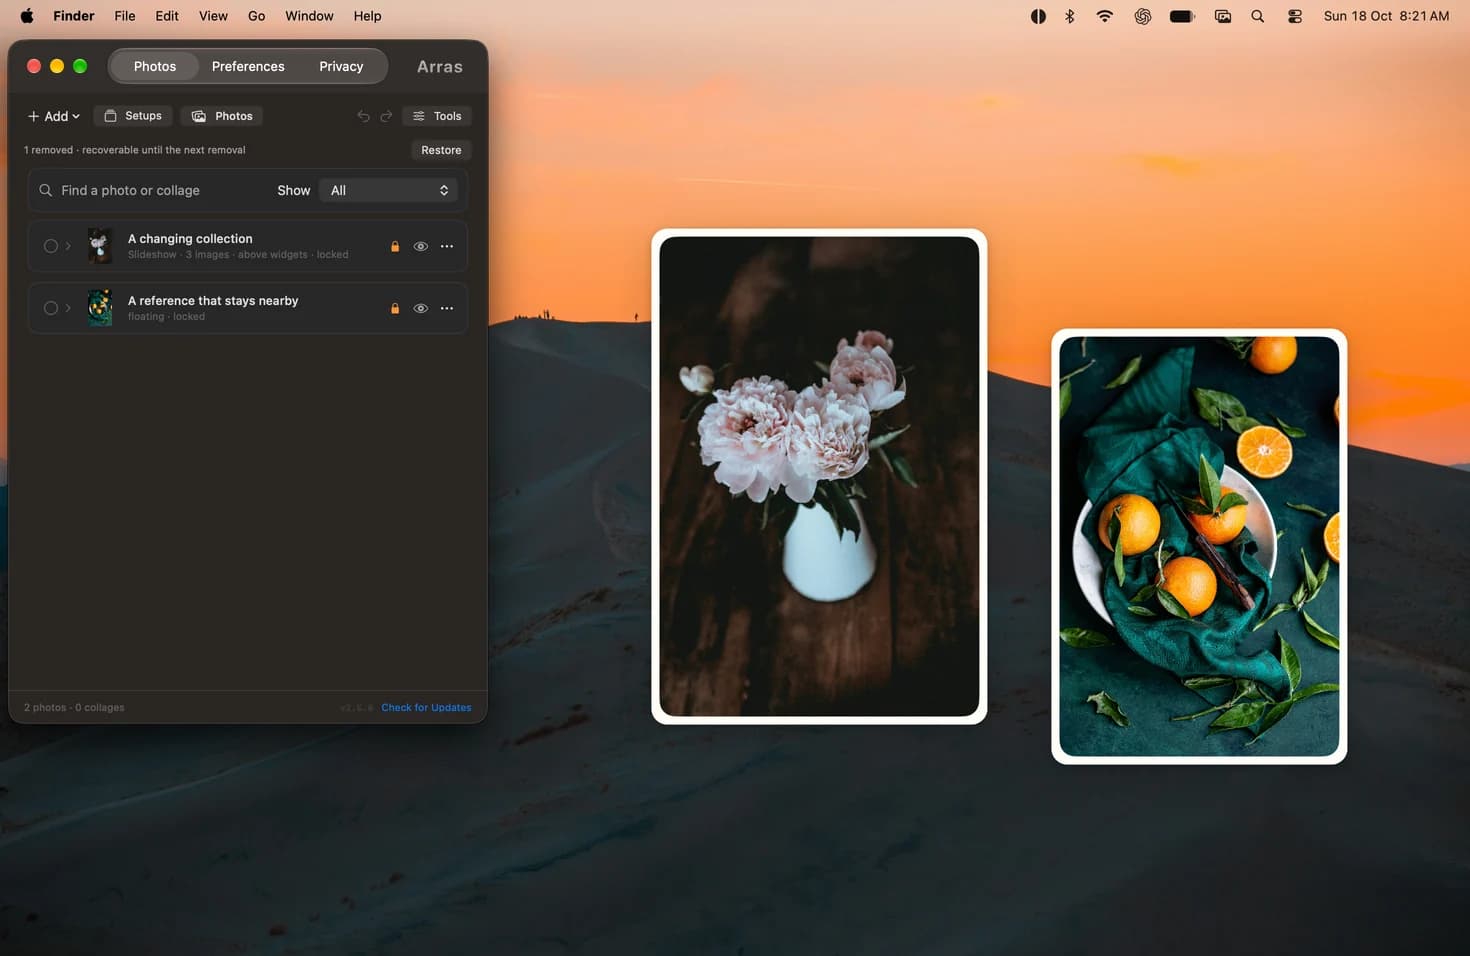
Start with the original picture
Open Arras from the menu bar and choose Add → Add Photos or Videos. Select a local photo, or choose Try an Example to start with bundled artwork. Arras copies imported media into its local library, so the widget remains available when the original file is moved.
Resize at the photo’s original proportions
Drag the picture to move it. Hover a corner and drag to resize it while preserving its aspect ratio. A tall portrait stays tall and a wide panorama stays wide. Choose a thin frame or Plain look if you want the edges of the original image to remain the focus.
Shapes and Reference Tools are optional edits. A circle, arch or a crop you choose can mask part of a picture. For slideshows, Dynamic sizing preserves each picture’s proportions; Fixed sizing fills one frame and can crop. Choose the setting that matches the result you want.
Pin the photo to the desktop
In Arras Settings, open the photo’s controls and set Depth to On Desktop. If the photo is floating above your apps, click the Arras icon in the menu bar, open Widgets, find the photo and choose Pin to Desktop. Lock Position keeps it where you put it. Save the arrangement as a named Setup if you want to return to it later.
Choose the free download or Mac App Store edition →
Arras feature documentation ↗ · Setup questions · Privacy and permissions